The page is divided into 5 main Tabs which allow you to navigate and update the campaign details:
- General
- Receipt Upload
- Voucher
- Message
- Privacy
We will explore each tab in detail starting with the General tab.
Here we configure the general properties of the campaign. These settings are NOT visible to your customers during the campaign and are for internal administration only.
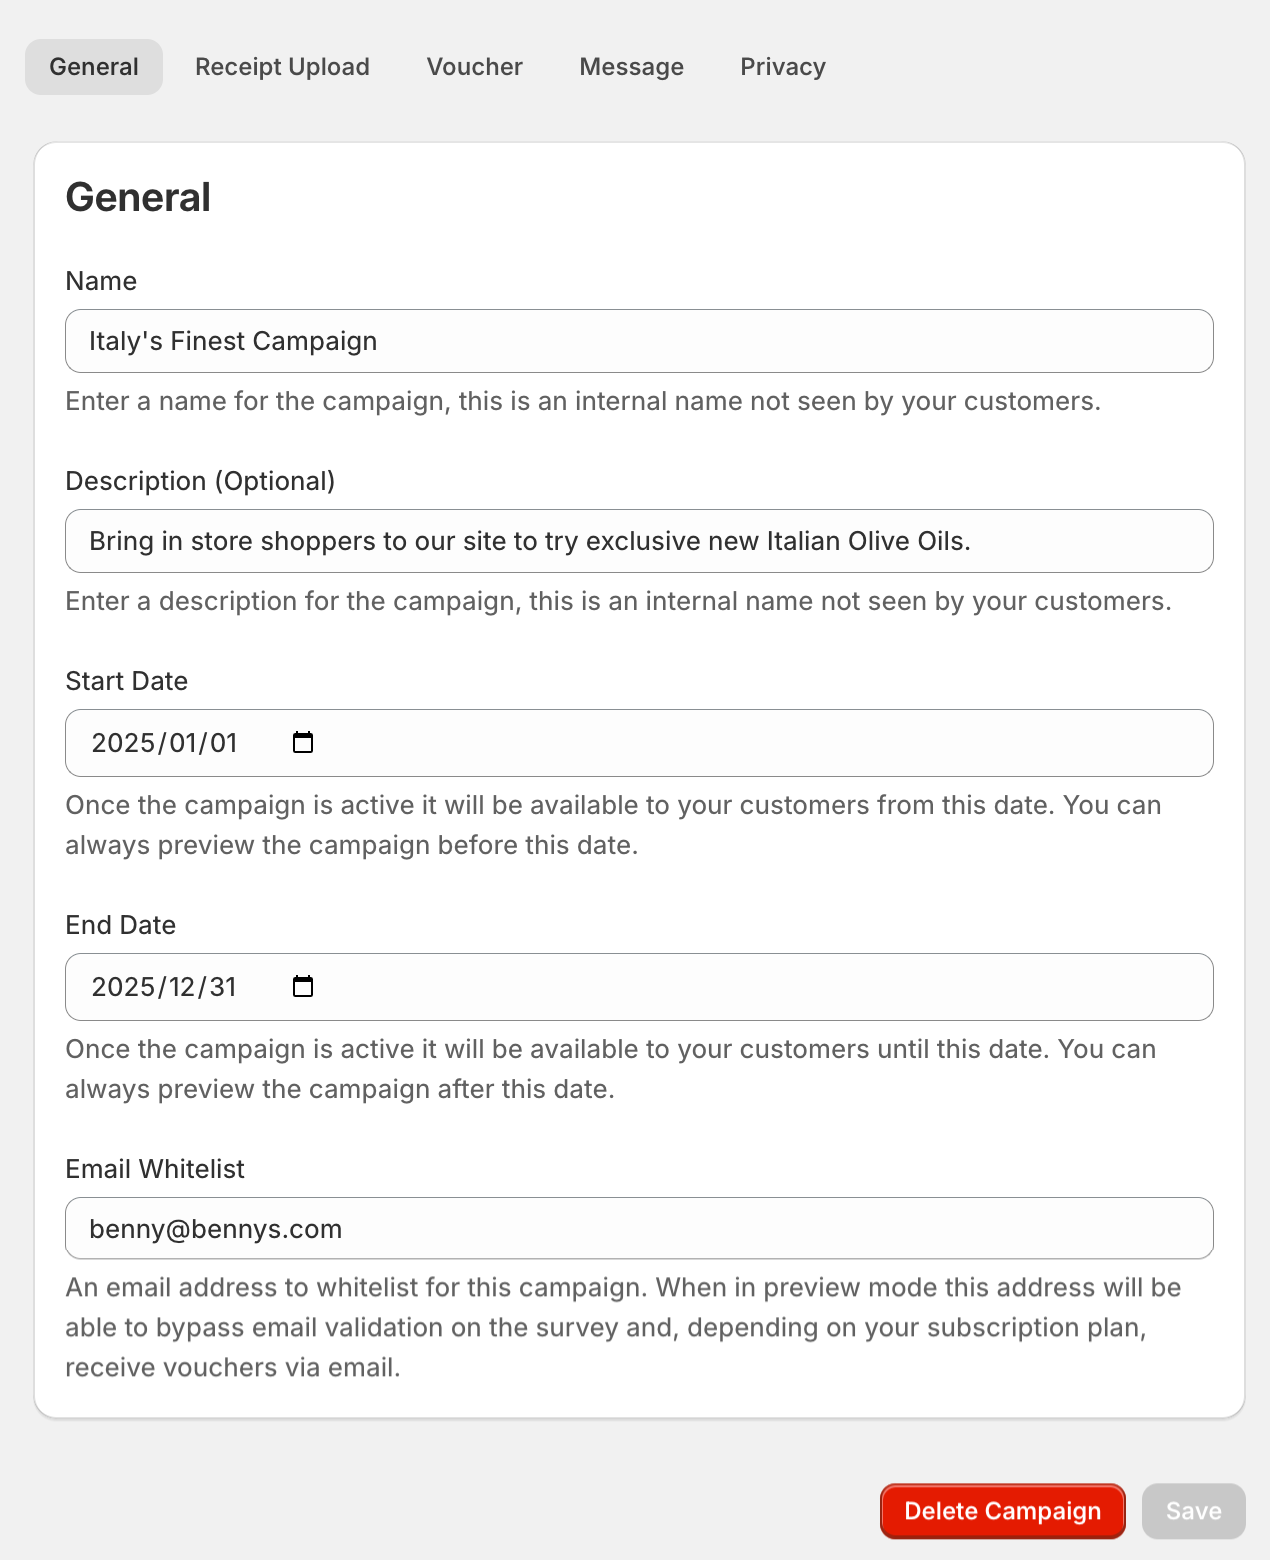
Set the Name and Description for your campaign and set the Start Date and End Date for the campaign. The start and end date will determine the time period during which the campaign is available to your customers. Even if your landing page is still visible on the internet the functions to enter the campaign and upload a receipt will not be displayed on the page. A message will inform the user that the campaign is currently not active.
The Email Whitelist is a very important field during the setup and testing of your campaign as it allows you to test your Landing Page flow with email validation and fraud control switched off. This allows you to test unlimited times using the entered email address until you are happy with your setup and configuration. It also allows you to send email vouchers to this whitelisted address so that you can test the entire end-to-end flow of the campaign before launch.