The Campaign Screen is the main screen in the application where you setup and configure all the details and rules of your campaign. Let’s take a look!
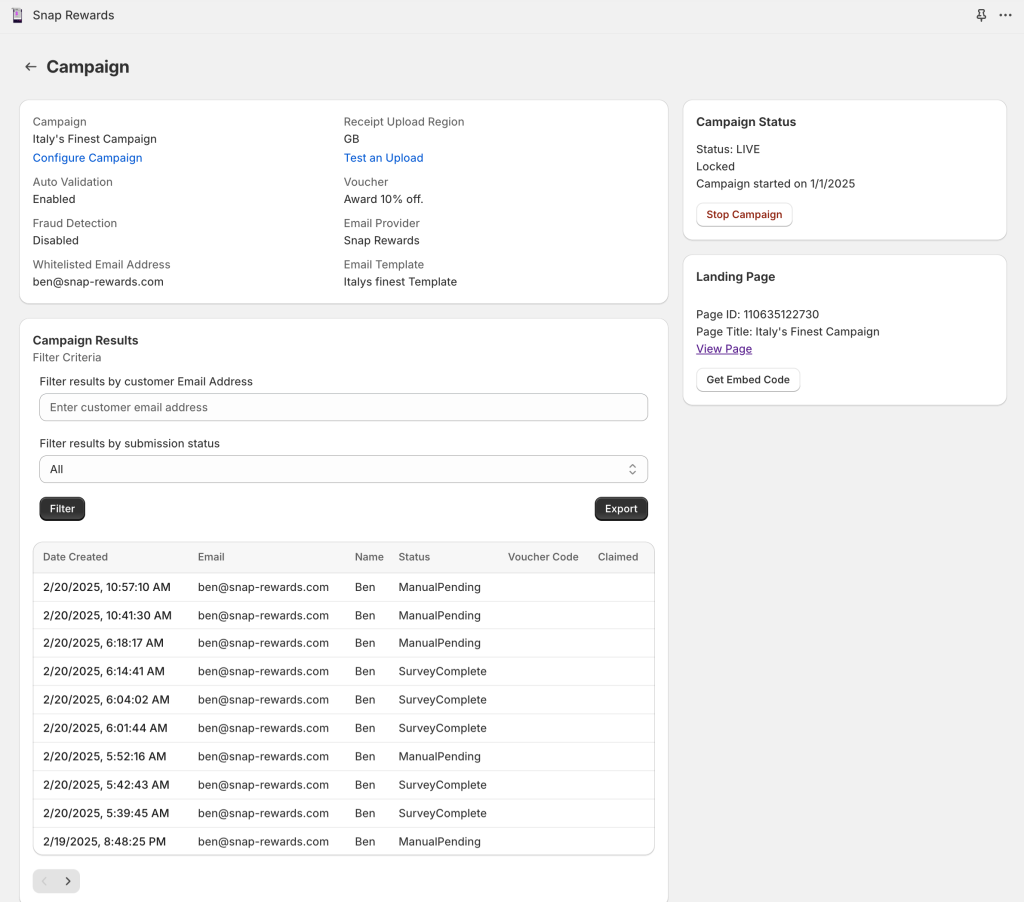
The screen is split into 3 sections, the first section displays all the major settings of your campaign to allow you to quickly see what is configured. Auto Validation, Fraud Detection, Whitelisted Email Address, the region set for your receipt uploads, the type of voucher issued by the campaign and the email provider and template settings. The Configure Campaign link takes you to the Campaign configuration screen where you can get into detailed configuration of the campaign and the Test an Upload link will take you to a testing tool to help you test receipt uploads and auto validation rules.
The section to the right show the current status of your campaign and a button to start and stop the campaign, below this is the landing page generated for the Campaign, you can create a landing page directly by clicking Create a Page, or you can use the Get Embed Code to get some html code that you can embed in any page in your Shopify store.
The bottom section shows your Campaign Results, all the customers that have submitted entries to the campaign, you can filter these results by email address and submission status.