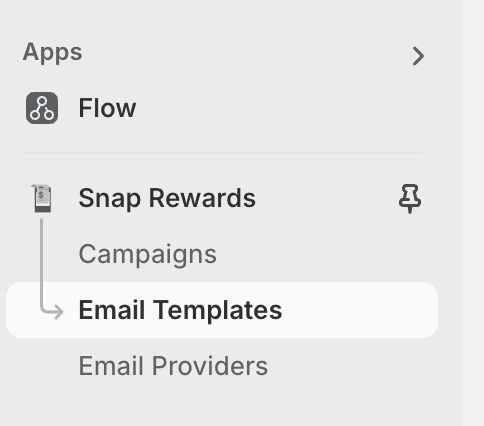
Email templates can be setup in the Email Templates section of the app, click on Email Templates in the main navigation menu. You can create as many email templates as you want, but only one email template at a time can be used for a given campaign
Once on the Email Templates screen, click on New Email Template button and the template builder will open.
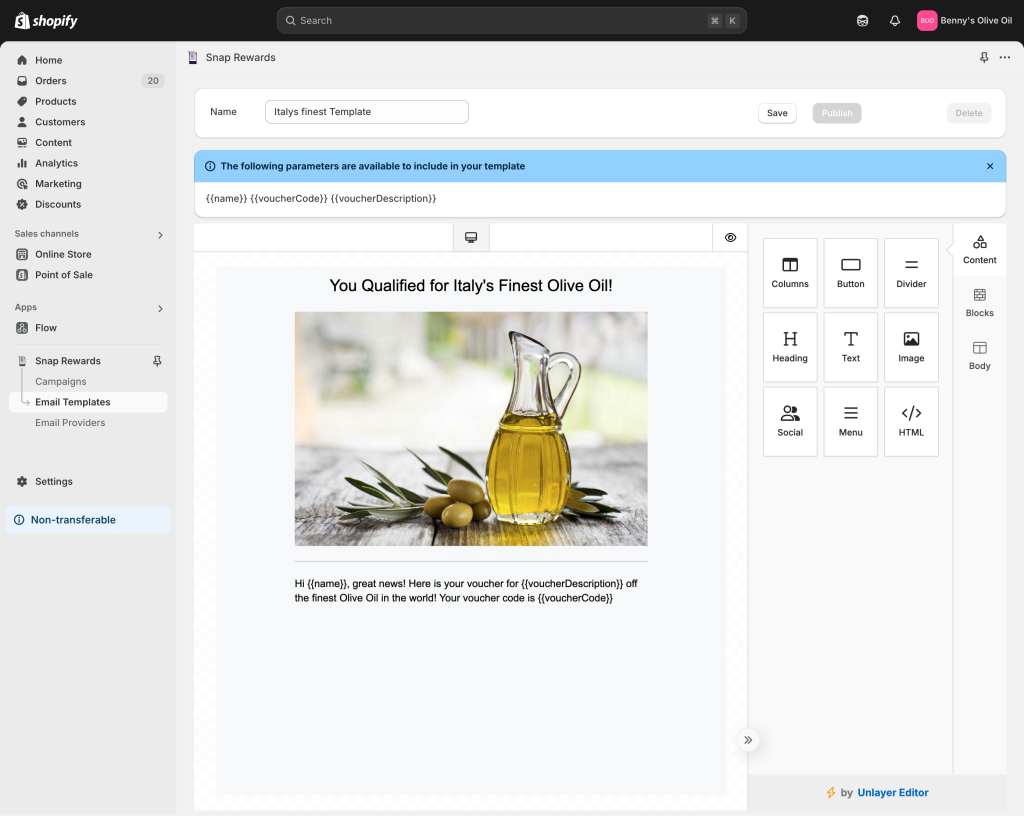
In the above image you can see the Email Template screen. The top section is where you enter the Name for your email template and can Save and Publish the template. Save allows you to work on your template before making it available for use in your campaigns. Clicking on Publish sets the Email Template status to Published and means the template is now available to select on your campaign screen.
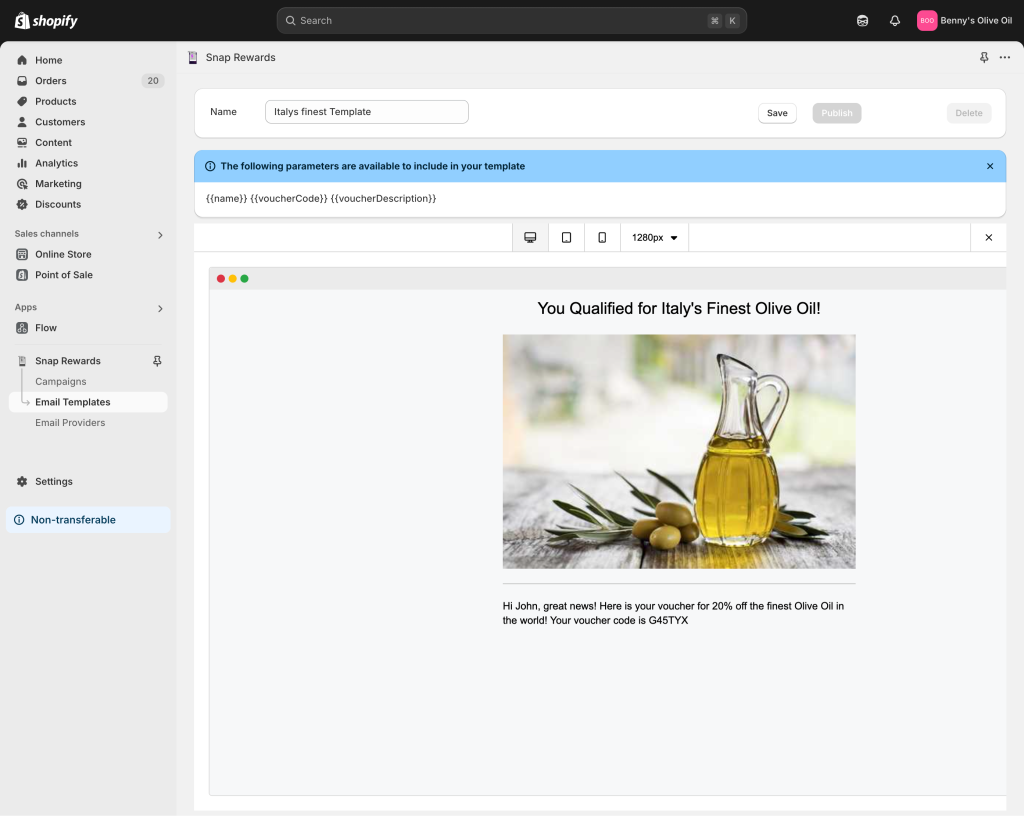
The light-blue banner message below the top section displays the parameters that are available to dynamically include in your email.
- name
- voucherCode
- voucherDescription
In order to use these parameters in your email you must wrap them in two curly brackets eg. {{voucherCode}}, when you do this the actual issued voucherCode for the customer will display in the email.
Below the light-blue banner you can see the email template builder section which allows you to design and preview your template. Drag and drop elements from the widget menu on the right to build your template. Click on the Eye icon to preview what the email will look like with the dynamic parameters included.
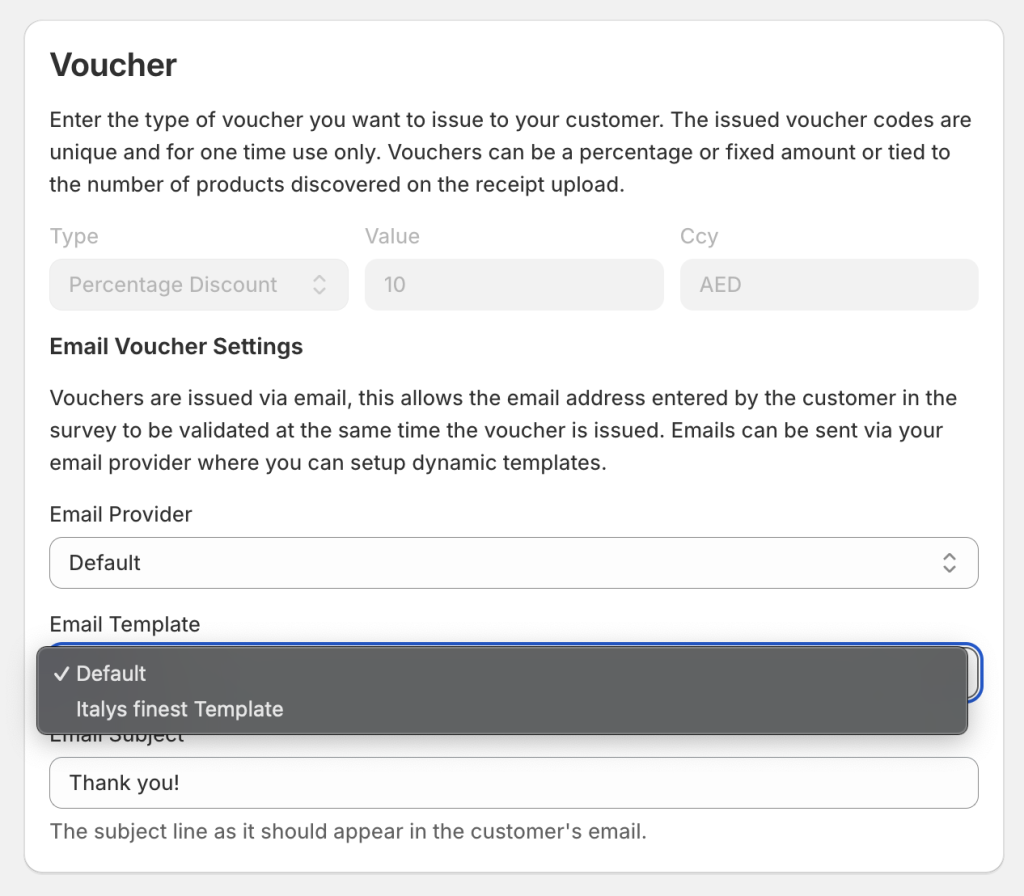
Once you have finished designing your email template, click Save and Publish the template. Then navigate to your campaign and in the Voucher section select the email template for use in your campaign.
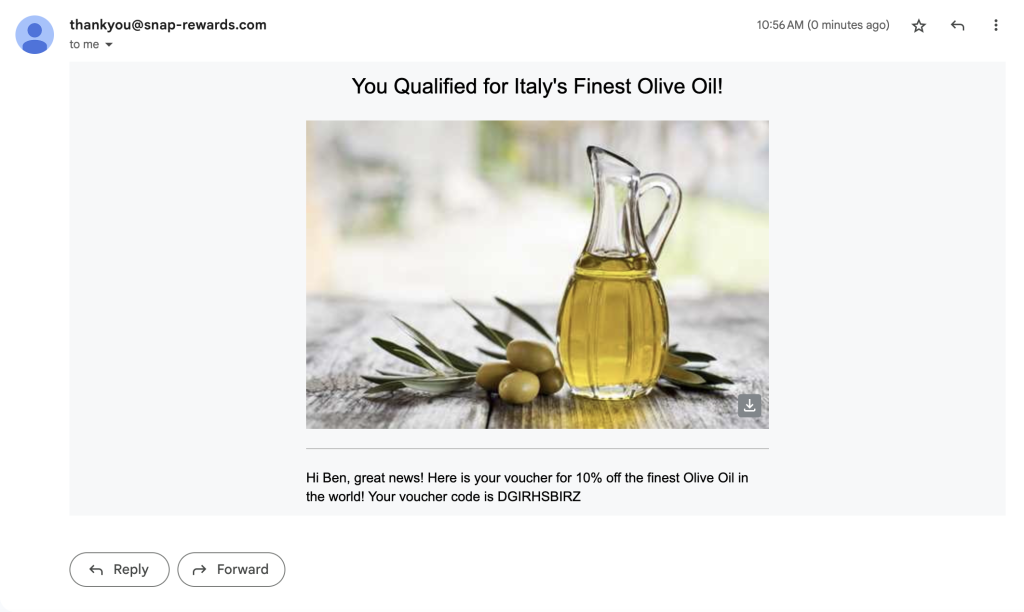
Once selected, Save your campaign and test your landing page submission flow. You will receive an email using your new email template.